How to Install Stable Diffusion (AUTOMATIC1111) on Windows, macOS and Ubuntu
This guide shows you how to install Stable Diffusion with the AUTOMATIC1111 Web UI on Windows 10/11, macOS and Ubuntu Linux. I'll keep it as straight-forward as possible while still being technically correct.
Stable Diffusion lets you generate images from text prompts on your own hardware. No credits, no monthly limits – as long as your PC, Mac or Linux box can handle it. I run this setup myself and this is the process I follow.
• A reasonably modern 64-bit system (Windows 10/11, macOS 13+, Ubuntu 20.04+)
• Preferably an NVIDIA GPU with at least 6–8GB VRAM for good performance
• 8–16GB+ RAM recommended
• 20GB+ free SSD space for the web UI, models and outputs
• Python around 3.10 (the web UI is tested most with 3.10.x)
If you'd rather not install anything and just want AI images, you can also use my AI image generation service and I'll generate them for you.
Windows 10 / 11 – Install Stable Diffusion Web UI
On Windows, we'll use the official-style setup: install Python 3.10.6, install Git, clone the repository and
run webui-user.bat. Then we'll add a small set of GPU optimisation flags.
Step 1 – Install Python 3.10.6
- Go to: Python 3.10.6 for Windows .
- Download the 64-bit installer.
- Run the installer and tick "Add Python 3.10 to PATH" on the first screen, then click Install Now.
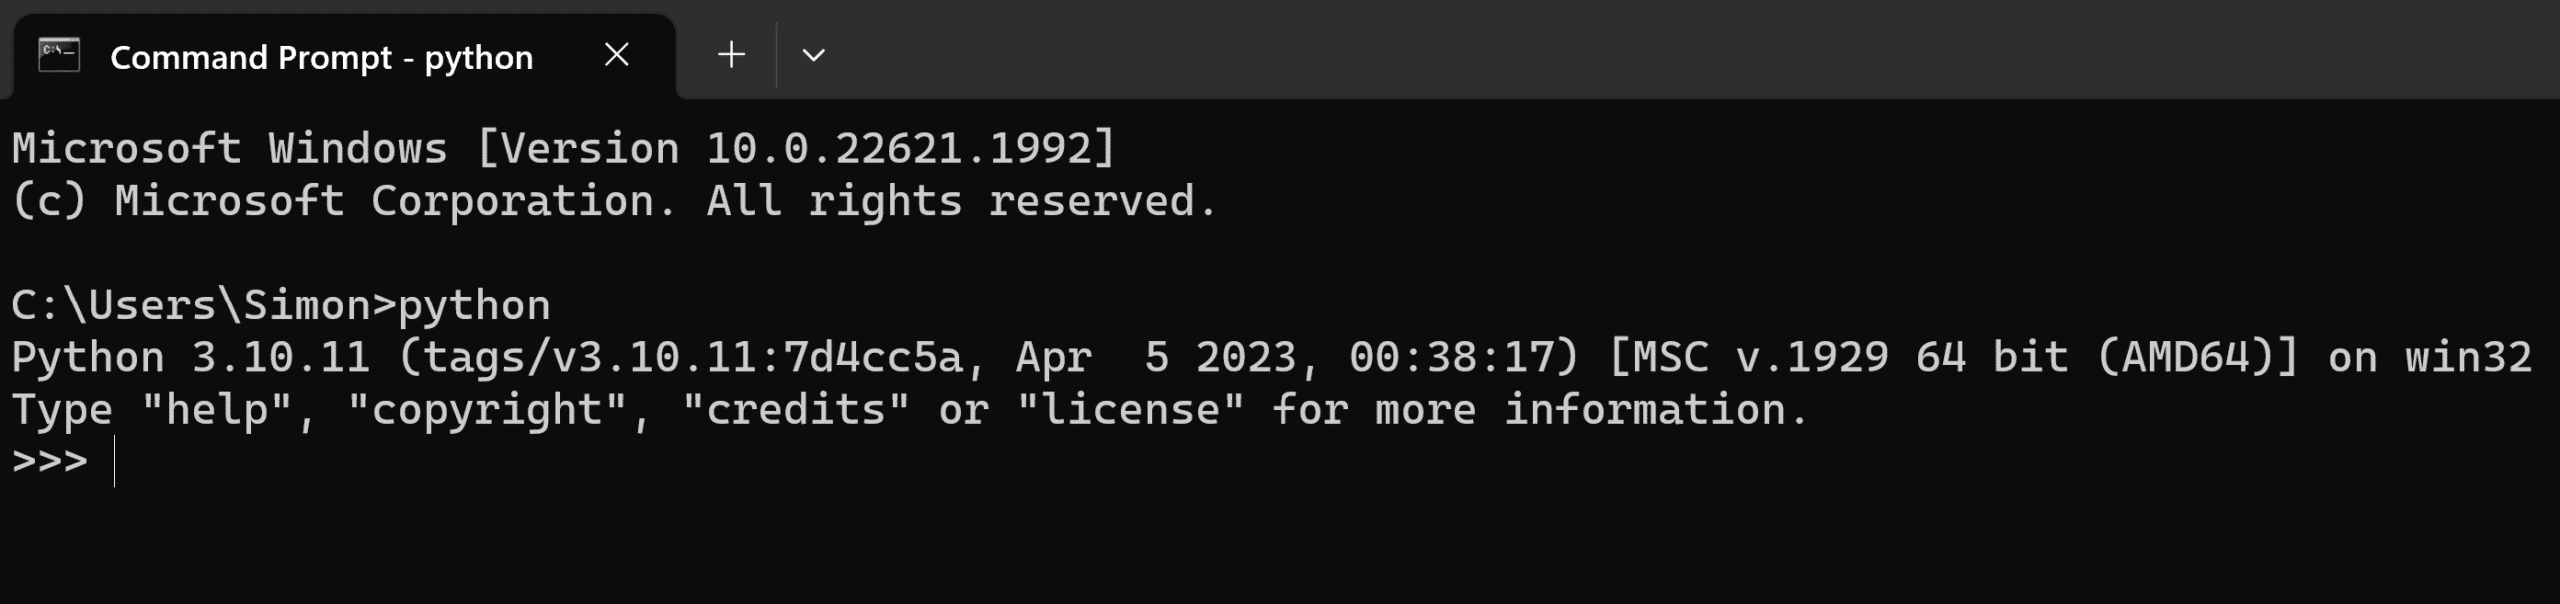
Verify the installation in Command Prompt:
python --version
You should see something like Python 3.10.6.
Step 2 – Install Git for Windows
- Download Git from: https://git-scm.com/download/win .
- Run the installer and keep the default options unless you know you want to change them.
Step 3 – Download the Stable Diffusion Web UI
- Open Command Prompt (press Windows key → type cmd).
- Go to your user folder:
cd %userprofile%
Now clone the web UI repository:
git clone https://github.com/AUTOMATIC1111/stable-diffusion-webui.git
You'll now have a folder:
C:\Users\YOUR_USER_NAME\stable-diffusion-webui

Step 4 – Add a Stable Diffusion model
The UI needs at least one model (checkpoint) to generate images. Download a model
(.safetensors or .ckpt) from a trusted source and place it in:
stable-diffusion-webui\models\Stable-diffusion
Step 5 – GPU optimisation on Windows (optional but recommended)
Let's add some performance and VRAM-saving flags to webui-user.bat. These are safe starting
options for most NVIDIA GPUs.
- Open the stable-diffusion-webui folder in File Explorer.
- Right-click webui-user.bat → Edit.
-
Find or add the line starting with
set COMMANDLINE_ARGS=and use this as your first setup:
set COMMANDLINE_ARGS=--xformers --opt-sdp-attention --listen
What these flags do:
--xformers– Enables the xFormers library for faster attention on supported GPUs.--opt-sdp-attention– Uses scaled dot-product attention (PyTorch 2.x), often faster and more memory-efficient.--listen– Lets you access the UI from other devices on your local network.
If you have a low VRAM GPU (4–6GB), you can try this alternative instead to reduce memory usage:
set COMMANDLINE_ARGS=--medvram --opt-sdp-attention --listen
--medvram tells the UI to use a more VRAM-friendly mode at the cost of a bit of speed.
If things still crash with out-of-memory errors, you can go more aggressive with --lowvram.
--xformers from the line, save the file,
and run again.
Step 6 – Run Stable Diffusion
- Double-click webui-user.bat inside the stable-diffusion-webui folder.
- The first run will download PyTorch and other dependencies – this can take a while.
When it's ready, you'll see a line like:
Running on local URL: http://127.0.0.1:7860
Step 7 – Open the web UI
On the same Windows machine, open your browser and go to:
http://127.0.0.1:7860/
You should now see the full Stable Diffusion interface.
Access from another device (optional)
If you used --listen, you can access the UI from another device on your local network:
- Find your PC's local IP (for example
192.168.0.50). - On another device on the same network, open:
http://YOUR_WINDOWS_IP:7860/
Example: http://192.168.0.50:7860/
macOS – Install Stable Diffusion Web UI
On macOS (especially Apple Silicon), the easiest advanced setup is using Homebrew to install dependencies and then cloning the AUTOMATIC1111 Web UI.
• macOS 13 or newer
• Apple Silicon (M1/M2/M3) – it can work on Intel but runs slower
• 16GB+ RAM for comfortable use
Step 1 – Install Homebrew (if you don’t have it)
Open the Terminal app and run:
/bin/bash -c "$(curl -fsSL https://raw.githubusercontent.com/Homebrew/install/HEAD/install.sh)"
Follow the on-screen instructions. When done, you may see commands to add Homebrew to your PATH – run those as instructed.
Step 2 – Install required packages
In Terminal, run:
brew install cmake protobuf rust [email protected] git wget
This installs Python 3.10, Git and build tools the web UI needs. On Apple Silicon, Homebrew usually installs
into /opt/homebrew.
Step 3 – Clone the Stable Diffusion Web UI
Still in Terminal, choose (or stay in) a folder with enough free space, then run:
cd ~
git clone https://github.com/AUTOMATIC1111/stable-diffusion-webui.git
This creates ~/stable-diffusion-webui.
Step 4 – Add a model
Download a model checkpoint (.safetensors/.ckpt) and place it in:
~/stable-diffusion-webui/models/Stable-diffusion
Step 5 – GPU optimisation on macOS (Apple Silicon)
macOS uses the Metal backend rather than CUDA. There are no xFormers wheels for Metal at the time of writing, but you can still tune memory usage and performance.
- From Terminal, go to the folder:
cd ~/stable-diffusion-webui
- Open
webui-user.shin a text editor (for example, nano):
nano webui-user.sh
Set up a simple configuration like this:
python_cmd="python3.10"
COMMANDLINE_ARGS="--medvram --listen"
Why these flags?
--medvram– Helps fit Stable Diffusion into Apple Silicon unified memory, reducing crashes.--listen– Allows you to access the UI from other devices on your network.
If you have a higher-end Mac with lots of RAM, you can remove --medvram for extra speed and see
if it remains stable.
Step 6 – Run Stable Diffusion on macOS
From Terminal:
cd ~/stable-diffusion-webui
./webui.sh
On the first run, the script sets up a virtual environment, installs PyTorch (with Metal support where available) and downloads requirements. This can take a while.
When it finishes, you'll see something like:
Running on local URL: http://127.0.0.1:7860
Step 7 – Open the web UI
Open your browser on the Mac and go to:
http://127.0.0.1:7860/
Access from another device (if using --listen)
Find your Mac's local IP (for example 192.168.0.51) and from another device on the same network:
http://YOUR_MAC_IP:7860/
Example: http://192.168.0.51:7860/
Ubuntu – Install Stable Diffusion Web UI
On Ubuntu, we'll install dependencies, clone the repo and run webui.sh.
This assumes you already have working NVIDIA drivers and (if needed) CUDA installed.
• Ubuntu 20.04 / 22.04 work well with system Python (3.8 / 3.10) and venv
• Ubuntu 24.04 ships with Python 3.12 – you'll typically need an extra Python (3.10 or 3.11) and to point the web UI at it using
python_cmd in webui-user.sh.
Step 1 – Install dependencies
On Ubuntu 20.04 / 22.04, in a terminal:
sudo apt update
sudo apt install -y git python3 python3-venv python3-pip wget
On Ubuntu 24.04, it's often easier to install an extra Python version (3.10 or 3.11) via a PPA or a tool
like pyenv. Once installed, you can point the web UI at it via python_cmd in
webui-user.sh.
Step 2 – Clone the Stable Diffusion Web UI
Choose a folder (e.g. your home directory) and run:
cd ~
git clone https://github.com/AUTOMATIC1111/stable-diffusion-webui.git
You'll now have ~/stable-diffusion-webui.
Step 3 – Add a model
Download a model (.safetensors/.ckpt) and move it into:
~/stable-diffusion-webui/models/Stable-diffusion
Step 4 – GPU optimisation on Ubuntu
As on Windows, you can tune memory and performance with flags. These are set in
webui-user.sh.
- From a terminal, go to the web UI folder:
cd ~/stable-diffusion-webui
- Edit
webui-user.sh:
nano webui-user.sh
Add or edit these lines as a starting point for an NVIDIA GPU:
python_cmd="python3"
COMMANDLINE_ARGS="--xformers --opt-sdp-attention --listen"
On lower VRAM cards, you might prefer this instead:
COMMANDLINE_ARGS="--medvram --opt-sdp-attention --listen"
Quick notes:
--xformersneeds a compatible PyTorch + CUDA setup; remove it if you get import errors.--medvramand--lowvramhelp fit models into smaller GPUs.--opt-sdp-attentionuses the newer attention implementation (PyTorch 2.x).
Save the file (Ctrl+O, Enter) and exit (Ctrl+X).
Step 5 – Run webui.sh
From inside ~/stable-diffusion-webui, run:
./webui.sh
The script will create a virtual environment, install PyTorch and all requirements, and then start the web server. First run can take a while.
When it's running, you'll see:
Running on local URL: http://127.0.0.1:7860
Step 6 – Open the web UI
On the same machine, open a browser and go to:
http://127.0.0.1:7860/
You can also access it from another device on the LAN by using your Ubuntu machine's IP address and
--listen, just like the Windows/macOS examples.
General troubleshooting & tips
-
Python version errors
The web UI is tested most with Python 3.10.x. If you see errors mentioning Python 3.11/3.12 and Torch, install Python 3.10 and point the web UI to it (viaPYTHONon Windows orpython_cmdinwebui-user.shon Linux/macOS). -
"venv" corruption
If the environment gets messed up, you can often fix it by deleting thevenvfolder insidestable-diffusion-webuiand running the launch script again. -
No models listed
Make sure your model files live in themodels/Stable-diffusionfolder of the web UI directory. Restart the UI after adding new models. -
Out of memory (OOM)
Try smaller image resolutions (e.g. 512×512), fewer sampling steps, and avoid very heavy models if your GPU only has 4–6GB VRAM. Use--medvramor--lowvramif needed. -
Updating the web UI
Because we cloned the repo with Git, you can update later by pulling the latest changes from GitHub or using any included update scripts.
Once you're up and running, the real fun begins: experimenting with prompts, samplers, different checkpoints and extensions. This setup gives you full local control – and a lot of creative freedom.
Example Commands & Creative Prompts for Stable Diffusion
Once everything is installed and running, here are some practical examples you can use straight away: useful launch commands and a big collection of copy-and-paste prompts to experiment with.
Useful launch / config command examples
These are example COMMANDLINE_ARGS settings you can use in
webui-user.bat (Windows) or webui-user.sh (macOS / Ubuntu).
Pick one that matches your GPU and adjust as needed.
1. Fast NVIDIA GPU (8GB+ VRAM)
--xformers --opt-sdp-attention --listen
--xformers --opt-sdp-attention --enable-insecure-extension-access --listen
--xformers --opt-sdp-attention --api --listen
2. Medium VRAM GPU (6–8GB)
--medvram --opt-sdp-attention --listen
--medvram --opt-sdp-attention --xformers --listen
--medvram --opt-sdp-attention --no-half --listen
3. Low VRAM GPU (4GB) / “just about works” mode
--lowvram --opt-sdp-attention --listen
--lowvram --opt-sdp-attention --always-batch-cond-uncond --listen
--lowvram --opt-sdp-attention --disable-nan-check --listen
4. Apple Silicon / macOS (Metal, unified memory)
Paste these inside webui-user.sh as your COMMANDLINE_ARGS:
--medvram --listen
--medvram --opt-sdp-attention --listen
--medvram --no-half --listen
If any of these cause errors on your setup (especially with --xformers), just remove the flag,
save the file and relaunch.
🎨 Ready to Create Stunning AI Images?
Now that Stable Diffusion is installed and running, take your results to the next level with my massive collection of 140 realistic prompts for portraits, landscapes, products, food, animals, cinematic scenes and more.
➜ Browse the Best Stable Diffusion PromptsPerfect for SDXL, Automatic1111, ComfyUI, and all realism-focused models.
Stable Diffusion — Your Own RTX 4080 Workstation
Enjoy ultra-fast, high-quality AI image generation with exclusive access to a dedicated high-performance machine — no queues, no sharing, no throttling.
During your session, you and only you have full use of the hardware:
- NVIDIA RTX 4080 GPU – exceptional rendering speed & quality
- 64GB DDR5 RAM – handles heavy prompts and large batches smoothly
- Ryzen 9 7900X (12-core) – rapid model processing & multitasking
Installed models ready to use: DreamShaper XL, Epic Realism, Flux XL, Juggernaut XL, Photon, Realistic Vision, SDXL, SD 1.5.
How access works
- Start with a 5-minute free trial – no signup required.
- If you like it, choose a paid plan for more continuous time.
- Your session starts immediately once payment is confirmed.
- While your session is active, nobody else can use the machine.
- A visible countdown timer shows your remaining time in real seconds.
- The timer continues even if you close your browser – the hardware stays reserved for you.
- When your time ends, access automatically closes and the system is freed.
Session in progress, please check back in a bit.
Free Trial
Get 5 minutes of full-performance access, once per day per IP.
Paid Sessions
Choose how long you want exclusive use of the machine.
Your paid session time starts right after payment is confirmed and runs continuously, even if you close the browser. During that time, the full RTX 4080 system is reserved just for you.
Get notified when available
Max 2 notifications. Re-subscribe required after.